
What to Do in the First 24 Hours After Water Damage
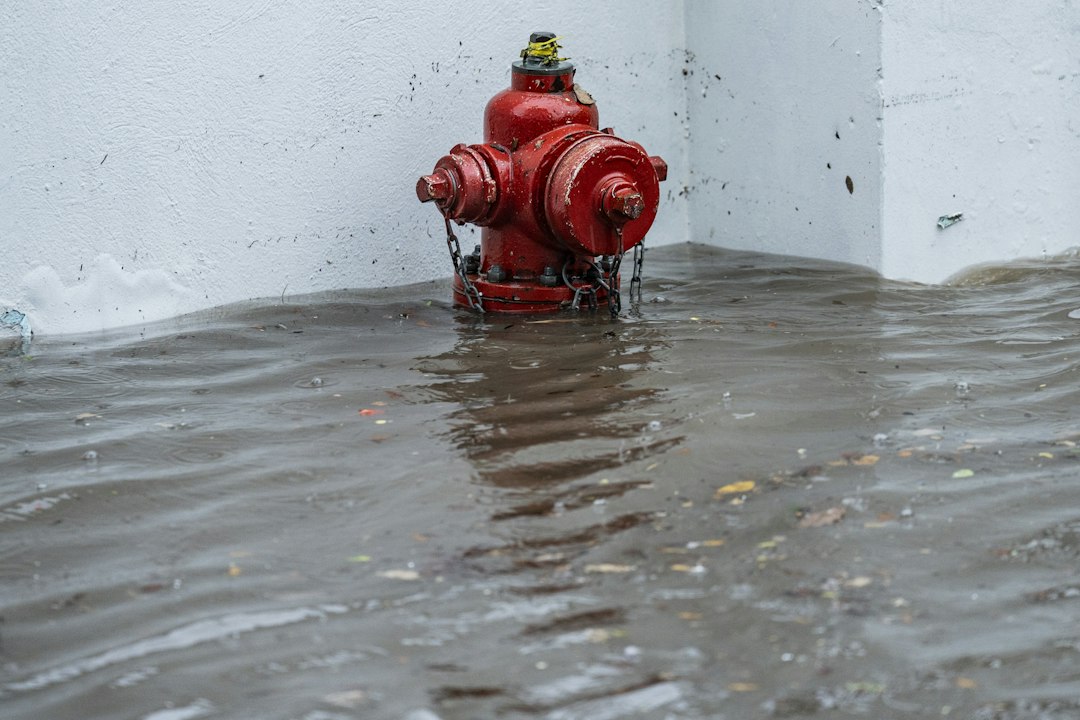
When water enters your home, the first day matters. A leaking pipe, failed water heater, overflowing appliance, or storm can leave more moisture behind than you can see. What you do during the first 24 hours can affect how much material can be saved and whether hidden moisture becomes a bigger problem.
If water has affected your property, see how our water damage restoration in Frisco team helps homeowners move from cleanup to restoration.
This guide gives Frisco homeowners a simple timeline for the first day after water damage. The focus is on safety, stopping the source, documenting the loss, removing water, and finding moisture that may be hidden under floors or inside walls.
First 30 Minutes: Make the Area Safe
Do not start cleanup until you know the area is safe.
- Keep people and pets away from unsafe areas. Standing water may hide electrical hazards, sharp debris, or contaminated water.
- Avoid electrical hazards. Do not enter standing water if outlets, appliances, cords, or electrical equipment may be affected.
- Stop the water source if you can do it safely. Shut off the appropriate valve for a plumbing leak, appliance, or water heater when accessible.
- Do not enter sewage or heavily contaminated water. Keep the area isolated and arrange professional cleanup.
If you are not sure whether an area is safe, do not take a risk just to save a few minutes of cleanup.
Within the First Hour: Document the Damage
Before moving too many items or starting major cleanup, take photos and videos. Capture the room from several angles and then take close-up photos of damaged materials and belongings.
Document:
- The apparent source of the water
- Standing water and wet surfaces
- Damaged flooring, walls, ceilings, and cabinets
- Furniture and personal belongings
- Appliances involved in the loss
- Visible staining, swelling, or buckling
Good documentation gives you a record of what the property looked like before cleanup. If you plan to file an insurance claim, keep receipts and records for emergency work and damaged belongings as well.
Hours 1–3: Move What You Can Save
Once the area is safe, move small, valuable, or easily damaged belongings to a dry location. Important papers, photographs, medications, electronics, and other irreplaceable items should receive priority.
Be careful with heavy furniture. Waterlogged furniture can be much heavier than normal. Do not lift large items alone if doing so could cause an injury.
Do not plug in electronics that were exposed to water. Have them evaluated before using them again.
Hours 2–6: Find Out How Far the Water Traveled
Visible water is only part of the problem. Water can move underneath flooring, into carpet padding, behind baseboards, inside cabinets, and into wall cavities.
Look for early clues such as swollen trim, soft drywall, warped flooring, damp cabinets, peeling paint, or areas that remain cool and wet. A musty smell can also indicate that moisture remains somewhere out of sight.
For larger losses, professional moisture detection can help identify wet areas that are not obvious from the surface.
Hours 3–12: Remove Standing Water and Start Drying
After the source has been stopped, water removal should begin as soon as practical. The right approach depends on the amount and type of water involved.
For substantial water intrusion, professional water extraction equipment can remove water faster and more thoroughly than household cleanup methods.
Do not use a normal household vacuum to remove standing water. It is not designed for that job and can create an electrical hazard.
Once standing water is removed, the property still needs to dry. Air movers and dehumidifiers are used to lower moisture in materials and the surrounding air. Proper structural drying is about getting affected materials dry, not simply making the room feel comfortable.
Why Drying the First Day Matters
Water can continue to affect building materials after the floor looks dry. Drywall, wood, insulation, flooring, and cabinets can hold moisture internally.
That is why drying should be checked with moisture measurements rather than by touch alone. If indoor humidity remains high, professional dehumidification can help control moisture while affected materials dry.
Fast, thorough drying also helps reduce the conditions that allow mold to develop.
What Not to Do After Water Damage
Do not paint over a water stain
Paint can hide the mark, but it does not remove moisture. Find and correct the source first.
Do not cover wet flooring
Rugs, plastic, or other coverings can slow evaporation and trap moisture.
Do not turn on wet electrical equipment
Water-damaged electrical equipment should be evaluated before it is used.
Do not assume a small wet wall is harmless
A small surface stain can mean water has entered the wall cavity. Hidden moisture needs to be checked before the area is closed or repaired.
Do not throw away everything immediately
Photograph damaged belongings first and keep records. Your insurance company may want documentation before items are discarded.
Hours 12–24: Check the Progress
By the end of the first day, ask whether the affected areas are actually drying—not just whether the visible water is gone.
Check for:
- Persistent dampness
- Musty odors
- Swollen baseboards
- Soft or damaged drywall
- Buckled flooring
- Damp carpet padding
- Moisture inside cabinets
- New ceiling or wall stains
If water entered a wall, ceiling, floor system, or other concealed space, professional assessment is worthwhile. Problems hidden during the first day can become much more expensive to correct later.
When to Call a Water Damage Restoration Company
Professional help is especially important when the affected area is large, water has entered building materials, or you cannot determine how far the moisture traveled.
Call for an assessment when you have:
- Significant standing water
- A burst pipe or major plumbing leak
- A failed water heater or appliance leak
- Water inside walls or ceilings
- Saturated carpet or flooring
- Sewage or contaminated water
- Storm-related flooding
- Moisture that remains after initial cleanup
For broader damage, you can review the available water damage restoration services in Frisco to understand which type of cleanup or drying may be needed.
What About Insurance?
If you think you may file a claim, contact your insurance company as soon as practical and follow your policy’s requirements. Coverage depends on the policy and the cause of the loss.
Keep a simple record of the incident, including the date, source of the water, photos, videos, emergency expenses, damaged belongings, and restoration work.
Do not assume that every type of water damage is covered. Your insurance policy and adjuster are the best sources for coverage decisions.
A First-24-Hour Water Damage Checklist
- Make sure people and pets are safe.
- Avoid electrical and contaminated-water hazards.
- Stop the water source if it is safe to do so.
- Photograph and video the damage.
- Move important belongings to a dry location.
- Remove standing water safely.
- Check floors, walls, cabinets, and other areas for hidden moisture.
- Start appropriate drying as soon as possible.
- Record expenses and damaged belongings.
- Contact your insurer if you plan to make a claim.
- Arrange professional moisture inspection and drying when the loss is beyond a small, easily controlled spill.
What Happens After the First 24 Hours?
The first day is about controlling the loss. The next step is making sure the property is genuinely dry and identifying materials that cannot be restored.
If water has affected drywall, ceilings, flooring, or other building materials, the correct repair depends on the material and the extent of the damage. For example, specialized drywall water damage repair may be needed when drywall has absorbed significant moisture.
Do not rush into cosmetic repairs while moisture is still present. Dry first, verify the conditions, and then repair or replace damaged materials.
Final Takeaway
The first 24 hours after water damage should follow a simple order: stay safe, stop the source, document the loss, remove the water, find hidden moisture, and dry the affected materials.
You do not need to solve everything yourself on the first day. The important thing is to prevent additional damage and get the property moving toward a complete, verified dry-out.
Frequently Asked Questions
How soon should I act after water damage?
Start as soon as it is safe. Early water removal and drying can reduce the amount of time materials remain wet and may limit additional damage.
Can I dry water damage myself?
A small, isolated spill may be manageable with household cleanup. Larger losses involving standing water, saturated flooring, walls, ceilings, or hidden moisture are better assessed with professional equipment.
How do I know if water got inside a wall?
Swollen drywall, peeling paint, staining, soft areas, damp baseboards, or a musty odor can be warning signs. Moisture detection equipment can provide a better answer when the affected area is not visible.
Does every water-damaged home need mold treatment?
No. Water damage does not automatically mean mold is present. Prompt and complete drying helps reduce the conditions that support mold growth. If mold is already visible or there is a persistent musty odor, the affected area should be assessed.
Should I call a restoration company immediately?
If the loss involves substantial water, contaminated water, hidden moisture, or materials that remain wet, early professional assessment can help determine the safest and most effective drying plan.